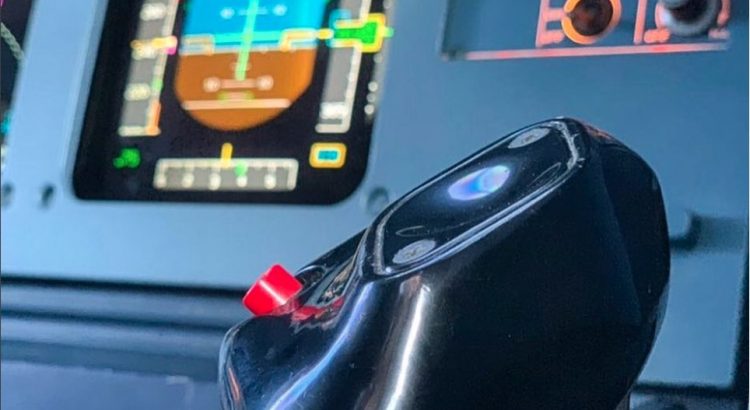
(feature picture courtesy of @voorpreters )
Hi there!
So you’ve finally ended up with a Logitech Attack 3 and a Routech AIRBUS Sidestick and you don’t know what to do next? Here is a little guide based on my experience. In this Guide i assume you’ll use same buttons as i’ve used:
Logitech Attack 3 trigger will be the AIRBUS triger
Logitech Attack 3 button 5 will be the AIRBUS AutoPilot Disconnect
- Attack 3 disassembly.
This part is pretty straightforward as you only need to remove all the stick handle screws and use the head of a flat screwdriver to unlock the bottow handle lock, the remove the 5 screws from below the stick base.
– Open the handle, be careful with the cable and boards.
– Disconnect the 5 cable white connector from the trigger button

The cables coming from the base are color coded, so i give you this diagram wich will explain you how all the handle buttons connexions are made.

So in my case, lazy as i am – and because i wanted to keep the original boards – i pulled the cable from bottom of the stick and only removed the trigger button (it take too much space).
That way it was possible to fit the cables and the two cards in the base of the joystick:
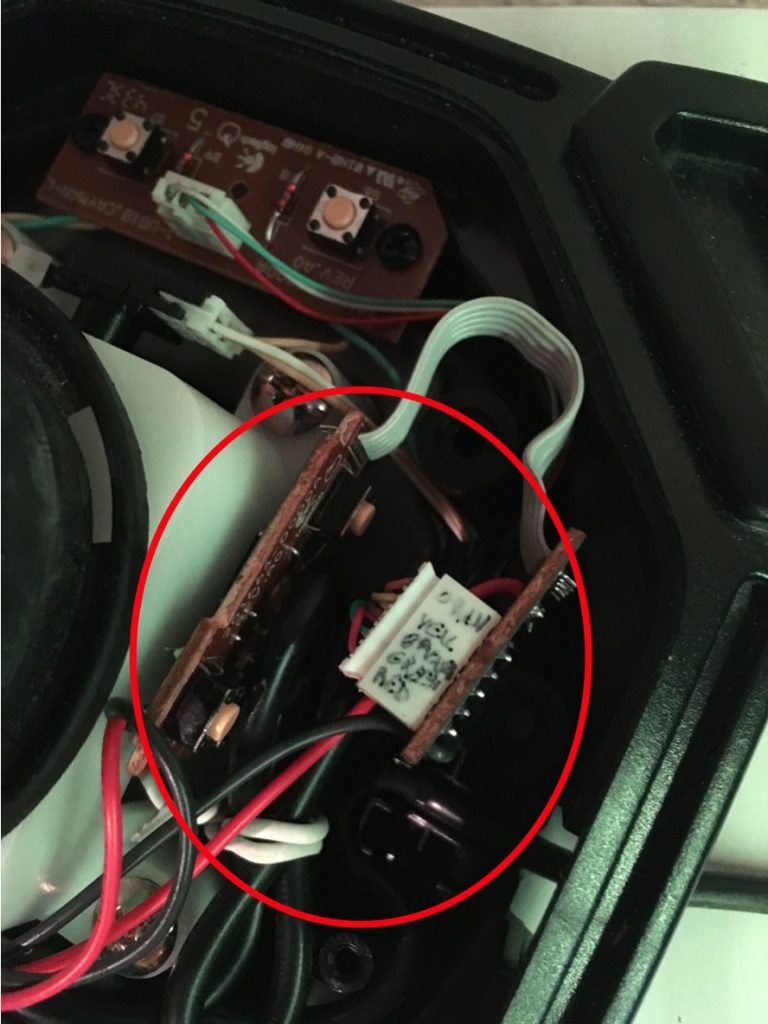
Then i used some cables to connect to the two sides of each buttons i needed:
- For the button 5 i simply soldered my cables to the existing connectors of the switch.
- For the trigger switch, as the removal of the switch let big holes in the board i took use of these ones to connect my cables:

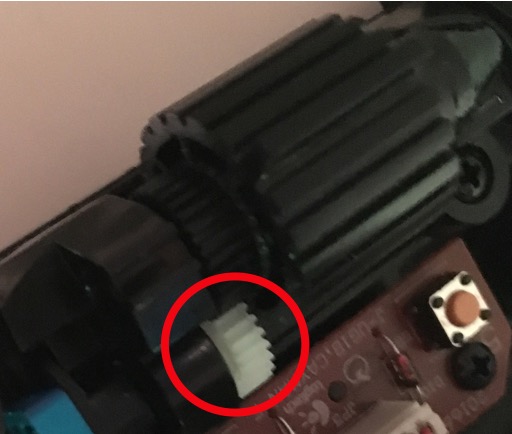
Something that will be of use for me for later but i removed the small white dented wheel which serve for the rear Z axis so it doesn’t move unintentionally because of the bellow, and because you should not cut the cables – plus it will be of use later if we connect the tiller there)
I also prepared both cable couple and attache them together with a code color so i’ll know wich will be for trigger and wich for AP disengage.
After that i needed to get all the cables back from the base to the handle so i pass them through the cable hole in the handle base to the top of it. That way you can close the Base and this part is done.
Now, the most IMPORTANT part:

This is when you put the bellow on the base, because after it’ll be too late!
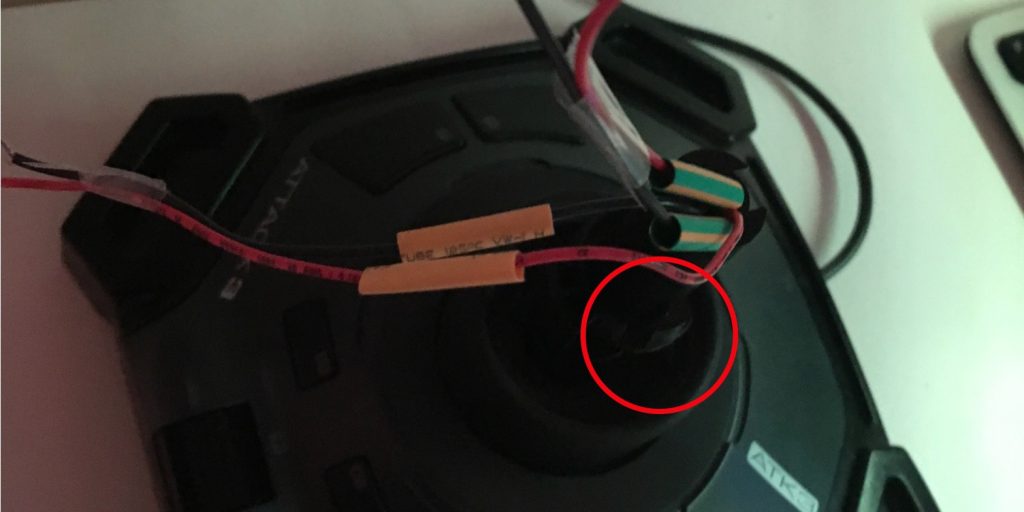
After that, time to connect the handle cable to the base
honestly i let enough cable length to be able to cut and reconnect if needed. i didn’t soldered, just connect and turn cable then use the shrink tube i let around the cables to hold this together.
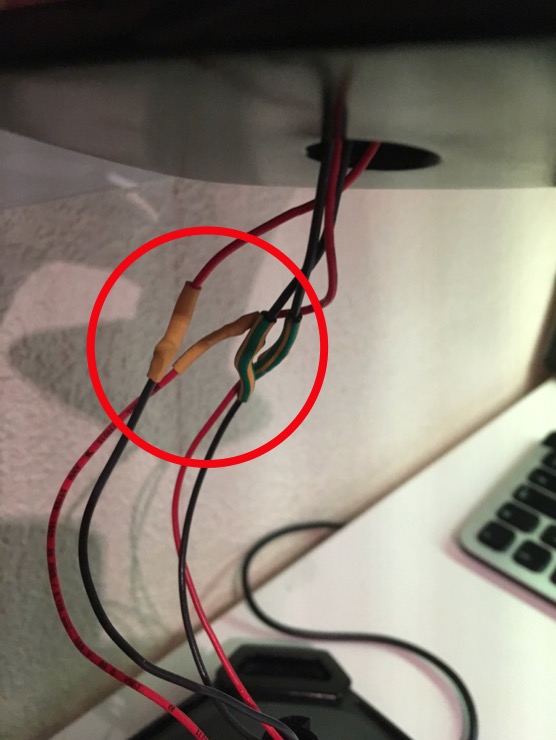
from the AIRBUS handle:
2 black cables = trigger
2 red cables = AP/disengage
Then i stuffed all the cable lenght inside both base and handle and fixed the handle. and Voilà, Your AIRBUS Stick!

I am working on a 3D printable box to encase the base of the Attack 3 stick and give it a more AIRBUS finish. The 3D object file will be available for d/l and 3D print from my Tinkercad library.
As you can see it will encase the base of Attack 3 Joystick in a more AIRBUS like case (featuring a dark blue color on bottom – Space Cadet – and side and RAL7031 on top).
There is 1 opening bottom front for the Attack 3 USB cable and one on the rear (for the 180° switch for lefties use)
The bottom rear opening can will be of some use when i’ll be able to design the tiller casing.
There are also 2 holes on one side to add 2 dual concentric differential rotary with push button to take advantage of the unused 10 buttons of the Attack3. casing can be rotate 180° so be used both for righties and lefties as both the Captain or First Officer sidesticks. Enjoy!

I will be working also on a compact desk case for both stick + tiller as soon as i can get a hand on the Routech tiller.
Finally, here you will find PDF Version of this guide.
Hi,
Any idea what happened to routech? All of the previously known links to their page are broken or ‘under construction’. Have they gone out of business? I’d like to follow in your footsteps but can’t buy the side stick! Many thanks for your help.
hi! i replied on your mail 😉
hi same here,
wondering what happened to routech?
many thanks!
hi, i don’t know.